
How to Align Garage Door Sensors Step by Step
A garage door that reverses halfway through closing, or refuses to close at all even though nothing is blocking the opening, is almost always signaling that its garage door sensor pair has drifted out of alignment rather than pointing to a serious mechanical failure.
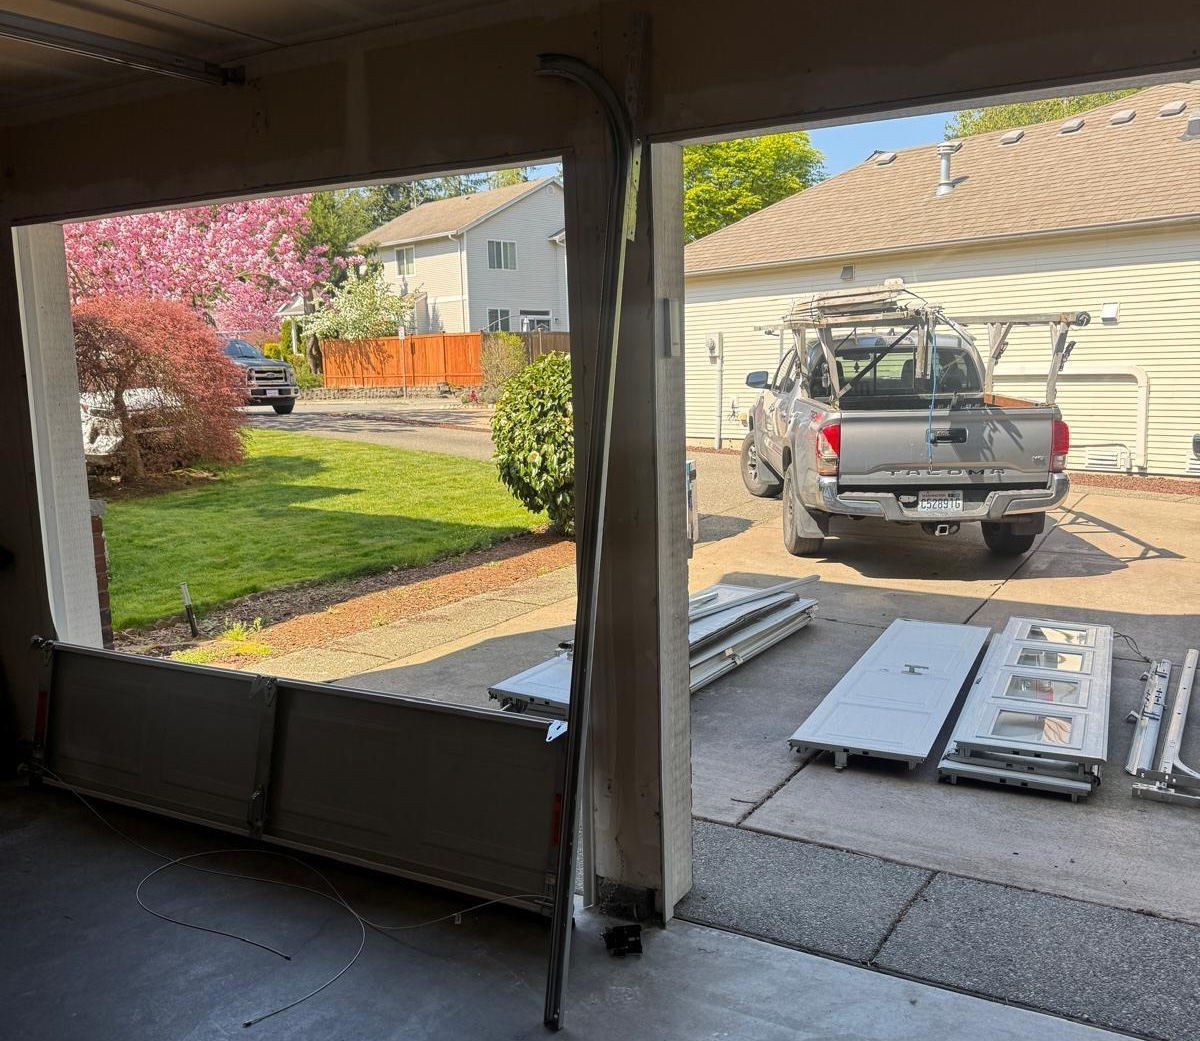
This is one of the most frequent service calls Skyline Garage Door Repair receives across Washington and Florida, and learning how to align garage door sensors correctly usually takes less than thirty minutes with nothing more than a screwdriver and a level.
The sections below cover what these sensors actually do, how to correct a misalignment safely on your own, and where the line sits between a quick DIY fix and a job better left to a licensed technician.
What Garage Door Sensors Do and Why They Matter
Every residential garage door opener manufactured for the U.S. market since 1993 is required to include an external entrapment protection system, and the photo-eye sensor pair mounted near the floor on each side of the track is how that requirement is fulfilled. The unit on one side sends a continuous infrared signal across the opening, while the unit on the opposite side receives it; as long as the garage door beams travel uninterrupted between the two units, the opener treats the path as clear and allows the door to close normally.
When an object, a pet, or a stray piece of debris breaks that beam while the door is descending, the opener’s logic board immediately reverses the motor and sends the door back up. This single feature has prevented countless injuries since federal standards made garage door safety sensor alignment a built-in requirement rather than an afterthought, which is why bypassing or disconnecting the sensors is never something we recommend, no matter how tempting a quick workaround feels during a busy morning.
The complication is that the same sensitivity which makes these sensors effective also makes them vulnerable to small positional shifts. A lens rotated by only two or three degrees, or a bracket that has slid down half an inch, is often enough to convince the opener that an obstruction exists even when the garage floor is completely empty. Most sensor complaints trace back to the beam simply not reaching its target rather than to a failed component, which is the mindset worth keeping in mind before assuming the worst about a garage door that suddenly won’t close.
Signs Your Garage Door Sensors Are Misaligned
Before reaching for tools, it helps to confirm garage door sensors not working correctly are actually the source of the problem, since several other faults produce similar symptoms. The behaviors we see most often during service calls in both states include:
- The door starts closing and reverses within one to two seconds, with no object anywhere near the opening
- The opener’s status light blinks in a repeating pattern, commonly ten flashes, when the remote button is pressed
- The indicator light on the receiving sensor is dim, flickering, or completely dark instead of showing a steady color
- The door closes normally when the wall-mounted button is held down continuously but will not close using the remote
- One sensor appears visibly tilted, knocked loose, or coated in dust and cobwebs compared to its partner across the opening
The wall-button test is the fastest way to confirm sensor involvement: holding the button down bypasses the safety circuit, so a full, uninterrupted close during that test points squarely at garage door sensors not aligned rather than a motor problem. If the garage door still refuses to close under that test, the fault likely sits in the opener’s electronics or the track mechanism instead, and alignment alone will not fix it.
How Climate Affects Sensor Alignment
Sensor drift is rarely the result of poor installation; it usually builds up gradually from environmental stress that most homeowners never connect to garage door misaligned sensors on the surface. The pressures at work differ enough between the two states that the same repair can have very different root causes depending on where the garage sits.
In Washington, the more common culprits are:
- Persistent moisture and condensation settling on plastic housings and metal mounting arms, especially in garages around Seattle and Bellevue
- Freeze-thaw cycles through the winter months that loosen bracket screws by fractions of a millimeter each season
- Light corrosion on mounting hardware in garages with damp concrete floors, which makes brackets easier to knock out of position during ordinary use
In Florida, the more common triggers are:
- Sustained heat and humidity that break down plastic sensor housings faster than in drier climates
- Vibration from tropical storms and hurricane-season winds, which can shake brackets loose even without any impact from flying debris
- Salt-air exposure near the coast in cities such as Miami and Tampa, which corrodes metal brackets and screws over time
Because these pressures move on different timelines, scheduling garage door sensor alignment checks every three to four months during and after hurricane season is a reasonable habit for Florida homeowners, while a twice-yearly check timed around early spring and late fall works well in Washington, since those are the points where temperature swings put the most stress on mounting hardware. Skipping seasonal checks in either state is the most common reason the same misalignment complaint keeps reappearing on a service schedule.
Tools You Will Need Before Starting
Getting started with aligning garage door sensors does not require specialized equipment, and most of what you need is likely already in a kitchen drawer or garage toolbox:
- A Phillips or flathead screwdriver matching the bracket screws
- A soft, lint-free cloth for cleaning the lenses
- A four-foot length of string or twine, or a laser level if one is available
- A small bubble level
- A flashlight, useful for inspecting wiring in dim garages
Having these items on hand before cutting power avoids the frustration of stopping midway through the job to search for a missing tool, which is a common reason a twenty-minute task on a garage door stretches into an hour.
Step-by-Step Guide to Aligning Garage Door Sensors
The sequence below follows the order our technicians use to align garage door sensors on service calls, adjusted so a homeowner without prior experience can complete it safely.
- Cut power to the opener. Unplug the unit or switch off the corresponding breaker at the electrical panel. This prevents the door from cycling unexpectedly while your hands are near the track and sensor wiring.
- Clean both sensor lenses. Wipe each lens gently with the dry cloth to remove dust, cobwebs, or lawn debris. A surprising number of “misalignment” calls resolve at this stage alone, because grime scatters the infrared beam just enough to trigger a false reading.
- Clear the beam path. Check for boxes, tools, or storage items resting against or in front of either sensor, since even a leaning rake handle can interrupt the signal intermittently.
- Loosen the bracket screws. Turn each mounting screw counterclockwise just enough that the sensor can pivot freely inside its bracket, without removing the screw entirely.
- Set a reference line. Tie the string to one sensor, stretch it taut across to the second sensor — this is the fastest method for lining up garage door sensors accurately — and rest the bubble level against the string to confirm both units sit at the same height, ideally between 4 and 6 inches above the garage floor.
- Adjust the receiving sensor. Pivot the unit in small increments until its indicator light shifts from blinking or dark to a steady glow, since most opener brands rely on the receiving side, not the sending side, to confirm a clean signal.
- Tighten and test. Secure the bracket screws while holding the sensor in place, restore power, and run the door through a full cycle. Place a cardboard box in the beam’s path during a close cycle to confirm the safety reversal still functions correctly.
Most alignment issues resolve after this sequence, and a realistic time estimate for a careful homeowner is closer to 20 to 30 minutes than the 15 minutes often quoted elsewhere, particularly if the brackets show any corrosion or the wiring needs a visual check along the way.
Reading Sensor Indicator Lights by Opener Brand
Indicator behavior varies enough between manufacturers that a light pattern signaling a wiring fault on one opener can mean something entirely different on another, which is why liftmaster sensor alignment and chamberlain misaligned sensors patterns are broken out separately in the table below. It summarizes the codes most relevant to the openers we install and service on garage doors across Washington and Florida.
| Opener Brand | Indicator Pattern | Likely Cause | Recommended Action |
|---|---|---|---|
| LiftMaster (myQ, Security+ 2.0) | Steady green on receiver, amber on sender | Sensors aligned and functioning | No action needed |
| LiftMaster (arrow-light models) | Down arrow flashes repeatedly | Beam obstructed or misaligned | Clean lenses, re-align using the string method |
| Chamberlain | Green LED blinking continuously | Sensors misaligned or blocked | Check bracket position and beam path |
| Chamberlain | Both LEDs off | Wiring fault on the sending unit | Inspect wiring for damage before realigning |
| Genie | Sensor LED off entirely | Power interruption or failed unit | Verify wiring connections, test with a multimeter if available |
| Genie | LED flickers rapidly | Partial obstruction or dirty lens | Clean the lens and clear the surrounding area |
A steady, non-blinking light on the receiving sensor is the universal sign of success across every brand listed here, while any blinking pattern, regardless of color, means the beam is broken or the wiring has a fault that alignment on its own will not correct.
Troubleshooting Sunlight and Daytime-Only Failures
One pattern that confuses many homeowners is a garage door that closes without issue at night but reverses unpredictably during the day. Low-angle sunlight, common during early morning and late afternoon in both regions, and year-round in much of Florida, can overpower the infrared receiver and trick it into registering a false obstruction even though nothing has physically shifted.
Shading the sensor rather than repositioning it usually solves this, since the alignment itself may already be correct. Attaching a small piece of cardboard, plastic guttering, or a purpose-built sensor shade above the receiving unit blocks direct sun without narrowing the beam path needed to detect real obstructions. Homeowners in south-facing garages along Florida’s coast run into this more often than those in Washington, where cloud cover limits direct exposure for a larger part of the year, though it is not exclusive to either state.
If shading does not resolve a daytime-only failure, the lens itself may have degraded from years of UV exposure and could need replacement rather than repositioning, which is worth ruling out before repeatedly adjusting a bracket that was never the actual problem.
When to Call a Garage Door Professional
Sensor alignment sits comfortably within a homeowner’s skill range, but a handful of situations involving misaligned garage door sensors point to something a screwdriver and level cannot resolve. Watch for:
- Frayed, chewed, or exposed wiring, which rodents cause more often than most people expect in garages used for storage
- An indicator light that never illuminates even after cleaning and repositioning, usually pointing to a failed sensor or a broken low-voltage connection back to the opener
- The same misalignment returning within weeks of a correct fix, which often means a cracked or warped bracket that no longer holds its position under normal vibration
- Visible damage to the opener’s circuit board or the wiring harness near the unit
Our licensed technicians in both Washington and Florida check for all of these during a standard sensor visit, along with related components such as rollers, track alignment, and opener logic, since problems in those areas frequently masquerade as a sensor fault. Attempting advanced electrical repairs without training also risks both personal safety around a spring-loaded door and the opener’s manufacturer warranty, so the DIY process should stop the moment wiring damage or a persistent electrical fault becomes visible.
Cost of Professional Sensor Alignment and Repair
A standard diagnostic and repair visit for garage door sensor alignment issues typically runs $150 to $400, covering lens cleaning, realignment, minor wiring repair, and a full function test of the safety reversal system. Costs move toward the higher end of that range when a bracket needs replacement, when wiring has to be rerouted after rodent damage, or when the visit uncovers a secondary issue such as a failing logic board that requires additional parts.
A free, self-performed alignment addresses only the immediate symptom, while a paid service visit also includes a broader inspection that can catch early roller or spring wear before it turns into a larger repair bill. For most single-visit sensor issues without wiring damage, the lower end of the $150-$400 range applies, and neither Washington nor Florida jurisdictions typically require a permit for this kind of repair, since it does not change the door’s structural opening.
Frequently Asked Questions
Should both garage sensors be green, or should the colors differ?
No. The sending sensor typically shows amber to confirm it has power, while the receiving sensor shows green only when the beam is unbroken. Matching colors, or either light staying dark, means an adjustment or wiring check is needed.
How high off the floor should garage door sensors sit?
Most manufacturers specify 4 to 6 inches above the garage floor, low enough to catch small pets or toys while staying clear of minor unevenness in the concrete slab.
Can sunlight really interfere with sensor performance?
Yes, particularly during low-angle morning and evening light. A small shade fitted above the receiving sensor usually fixes daytime-only failures without any repositioning.
Why does my garage door close only when I hold the wall button?
The wall button bypasses the sensor safety circuit, so a successful close using only that button confirms the sensors, not the opener motor, are behind the issue.
How often should sensors be checked in Washington versus Florida?
Roughly every three to four months in Florida through hurricane season, and twice a year in Washington around the seasonal temperature swings that stress mounting brackets most.
Is it safe to keep using a garage door with misaligned sensors in the meantime?
No. Operating the door with a disabled or malfunctioning sensor removes the entrapment protection the system was built to provide, even if the door still appears to work normally from day to day.
Final Thoughts
Sensor misalignment explains a large share of the garage door calls we handle, and most homeowners can resolve it with a clean lens, a level, and some patience with the bracket screws. What differs between the two states is less the repair itself than the maintenance rhythm needed to keep sensors from drifting again, since humidity and freeze-thaw stress in Washington call for a different check schedule than heat and storm vibration in Florida.
If alignment does not hold, or wiring damage or a failed sensor turns up along the way, Skyline Garage Door Repair’s Washington and Florida teams are ready to diagnose the garage door correctly and restore reliable operation. Call Skyline Garage Door Repair for a free estimate, or schedule your free in-home garage door consultation today.