
Garage Door Won’t Close? 7 Things to Check First
A door that lifts fine but reverses halfway down is almost never broken in the way people assume. Here are the seven checks we run on a call-out, in the order we run them — and the point where you should put the ladder away.
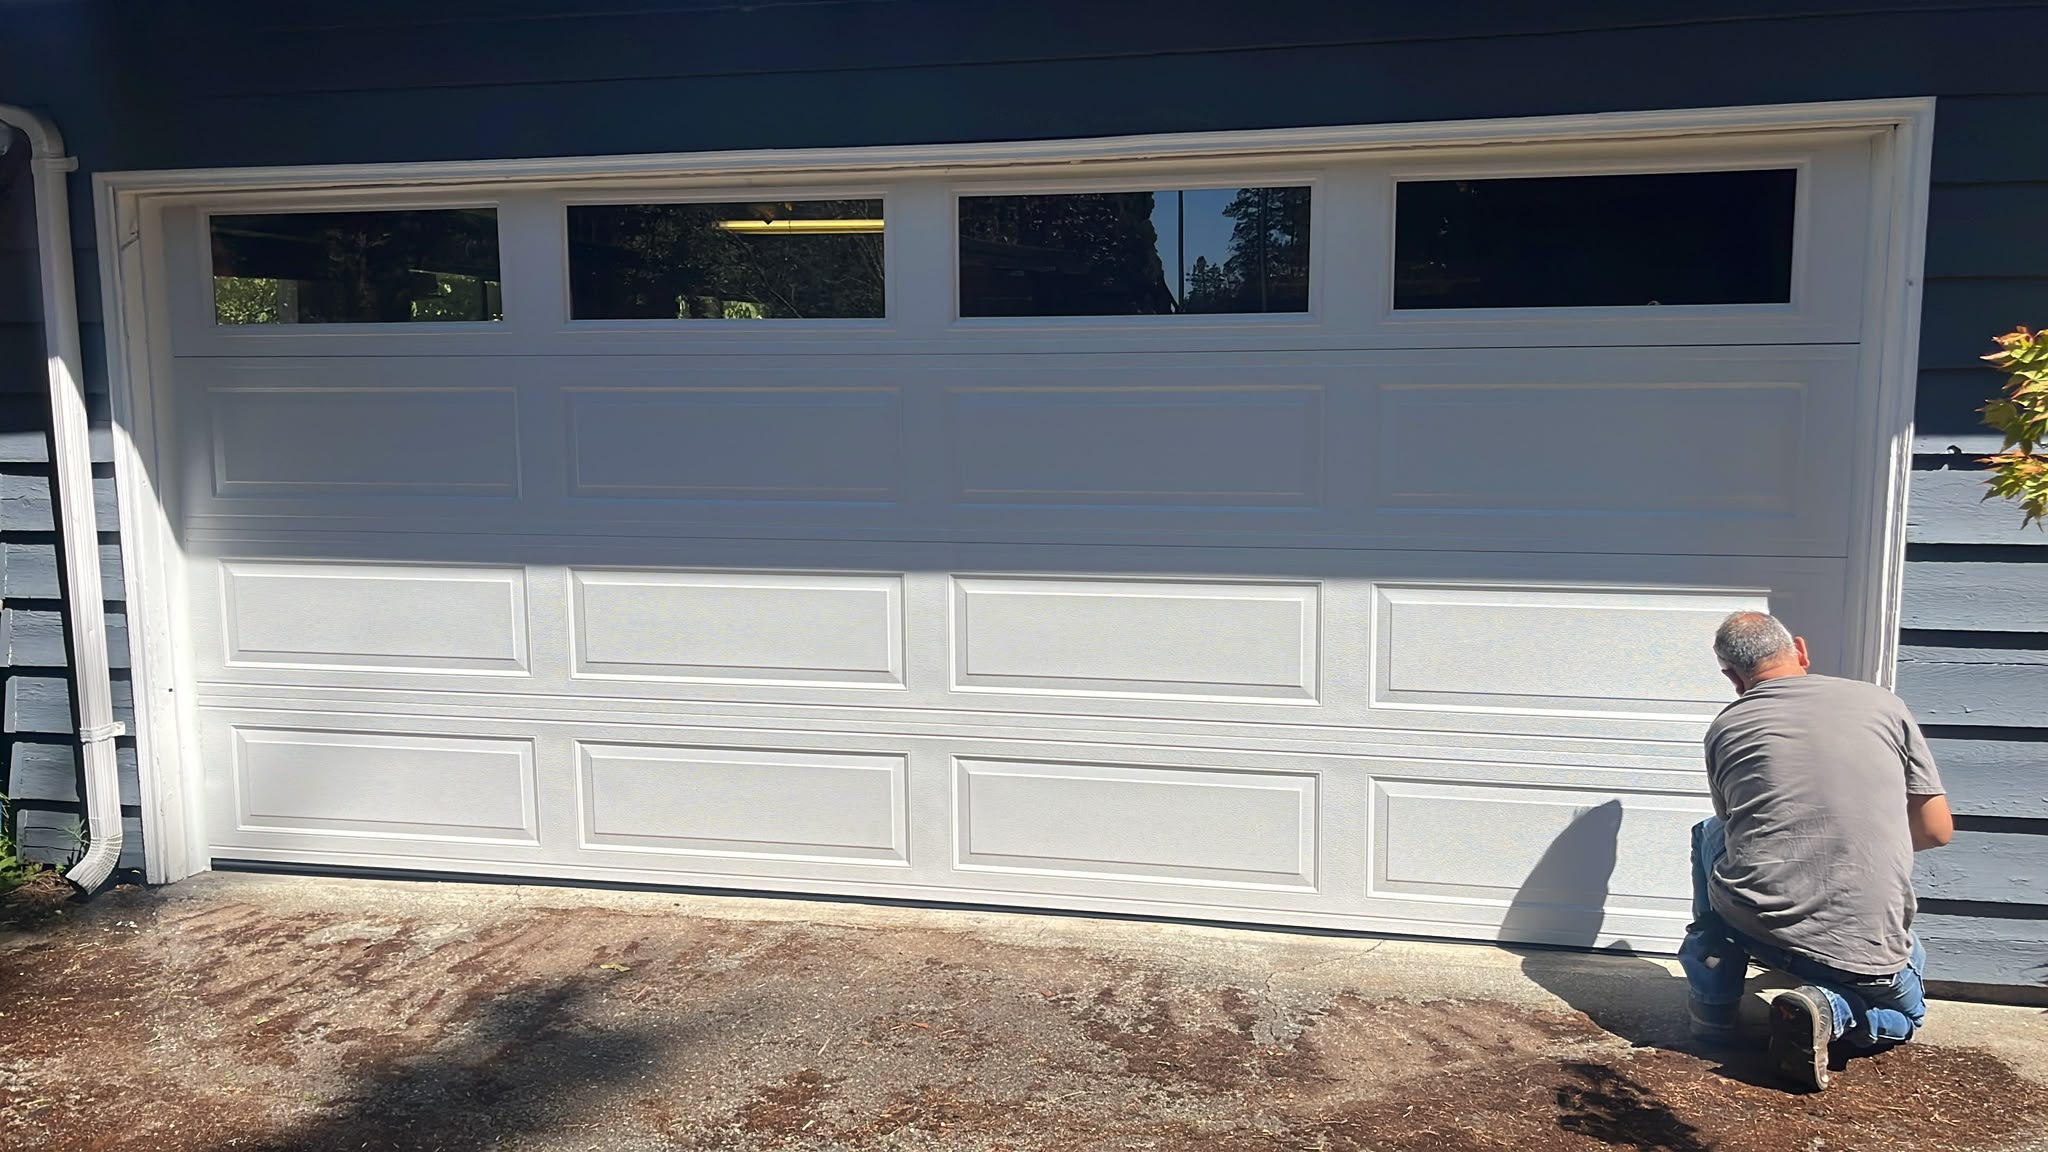
The pattern is always the same. You press the button, the door starts down, gets a foot or two, then reverses and the opener light flashes at you. The opener isn’t broken. It’s refusing to close because something is telling it the path isn’t clear — and modern openers err heavily on the side of stopping. Whether you’d call it the door not closing, closing partway and bouncing back, or not closing all the way, the diagnostic path below is the same.
Federal law has required a secondary entrapment protection system on residential openers since 1993, which in practice means the pair of photo eyes bolted near the floor. That system is deliberately twitchy. Work through these checks in order and you’ll resolve most cases in under fifteen minutes.
1. Look for something breaking the beam
Start with the obvious, because it’s right about half the time. The photo eyes fire an invisible beam across the opening at roughly six inches. Anything sitting in that line stops the close cycle.
Get down to floor level and sight across the opening. The usual suspects:
- A recycling bin or bag of yard waste pushed a little too close to the door
- A garden hose, extension cord or bike pedal poking into the opening
- A cobweb hanging directly across a lens — thin enough to miss, solid enough to break the beam
- Leaves and fir needles piled against the track, which is a standing problem on Eastside driveways from October onward
Clear the line, then try the door again from the wall button rather than the remote.
2. Check the sensor lights
Each photo eye has a small LED. On nearly every brand — LiftMaster, Chamberlain, Genie, Craftsman — the pattern reads the same way:
- Both lights steady: the sensors see each other. Your problem is elsewhere; skip to check 5.
- One steady, one off or blinking: the beam is broken or the two are out of alignment. This is the common case.
- Both lights off: no power reaching the sensors. Usually a pinched or stapled wire, or a connection knocked loose at the motor unit.
The sending eye is typically the one with a steady light that never changes; the receiving eye is the one that reacts. If the receiver is dark while the sender is lit, you’re either blocked or misaligned.
Colours differ by make, which is why a yellow light alarms some people and not others. On LiftMaster and Chamberlain the sending eye glows steady amber and the receiving eye steady green. On Genie’s Safe-T-Beam the sender is red and the receiver green. In both cases a steady pair is healthy — it is the blinking or the dead one that tells you where to look.
3. Realign the brackets
Sensor brackets drift. A bumper catches one, a bike leans on it over the winter, someone knocks it hauling a mower out — and a couple of degrees is all it takes.
Loosen the wing nut on the bracket of the dark sensor just enough that it moves under light pressure. Aim it slowly toward its partner, watching the LED. When the light comes on and holds steady, tighten the wing nut without shifting the head. Then run the door twice to confirm it holds.
If you have to hold the sensor in an odd position to keep the light on, the bracket itself is bent. Replacement brackets are a few dollars and take five minutes.
4. Clean the lenses — and check the sun
The lenses collect dust, spider silk and road film. Wipe both with a dry microfiber cloth. Don’t use solvent or glass cleaner: it hazes the plastic and you’ll make the problem permanent.
Then there’s the seasonal one that catches people out here. From late afternoon through summer and early autumn, low sun coming straight into a west-facing garage can wash out the receiving sensor and mimic a blocked beam exactly. If your door only refuses to close in the late afternoon and behaves perfectly in the morning, that’s your answer. A small sun shield — even a short length of PVC pipe slipped over the receiver — fixes it for good.
5. Door won’t close all the way? Check the close limit
If both sensor lights are steady and the door still reverses, look at when it reverses. A door that touches down and immediately springs back up is usually a travel-limit problem, not a sensor one.
The opener is set to run the door to a specific point. If that point is set below the floor, the door lands, the motor keeps pulling, the opener reads the resistance as an obstruction and reverses. It’s doing exactly what it should.
Most units have a close-limit adjustment on the motor housing — a dial or a pair of screws marked “up” and “down”. Turn the close limit in small increments, a quarter turn at a time, testing after each. And place a roll of paper towel flat under the door to confirm the reversing system still works once you’re done. If it doesn’t reverse on contact, put the setting back and call someone.
6. Rule out the remote and wall button
Try closing from the wall button, then from the remote, then from the app if you have one. If the wall button works and the remote doesn’t, the fault is in the remote, not the door — a flat battery or lost pairing. Our guide on programming a garage door opener covers re-pairing for each major brand.
The reverse case matters more. If the remote closes the door but the wall button doesn’t, you may have a stuck button holding the circuit, or a wall control set to a “lock” or vacation mode that blocks closing. Check for a small lock icon or switch on the panel.
Worked through all six and the door still won’t close?
That’s the point where it’s mechanical rather than electronic. We cover Bellevue and the Eastside 24 hours a day, and the estimate is free.
Call +1 (425) 484-87887. Check for a broken spring — then stop
This last check is a look, not a repair. Stand inside with the door down and look at the spring — either the torsion spring on the shaft above the opening, or the extension springs running alongside the tracks.
You’re looking for one thing: a visible gap. A broken torsion spring separates cleanly and the two halves sit an inch or two apart. Other signs that the mechanical side has failed:
- The door sits crooked in the opening, or one side hangs lower
- A lift cable is slack, frayed, or has come off its drum — see broken garage door cable for how to tell a cable failure from a spring one
- You heard a loud bang from the garage recently, like a gunshot or a snapped board
- The door is far too heavy to lift by hand with the opener disconnected
Stop here if you see any of the above. A torsion spring holds enough stored energy to lift a 150-pound door. Released without the correct winding bars and a controlled procedure, it will break fingers, wrists and jaws — and it does so every year to people following a video.
Do not pull the emergency release cord on a door with a broken spring while the door is open: with nothing counterbalancing it, the door can drop the full height of the opening. Leave the door where it is and call a technician. Spring, cable and drum work is not a homeowner job, and no amount of care makes it one.
When it only refuses in cold weather
A door that behaves all summer and fights you in January is usually not broken. Three things change when the temperature drops, and all three are cheap to deal with.
Grease stiffens. Old lithium grease on rollers and hinges thickens in the cold, the door runs heavier, and the opener reads the extra resistance as an obstruction. Wipe the old grease off and switch to a silicone-based lubricant, which stays workable well below freezing.
The bottom seal freezes to the slab. This is the common one here, where wet nights sit just either side of freezing. Water pools under the rubber seal, ices overnight, and bonds it to the concrete. The opener pulls, meets what feels like a wall, and reverses. Free it with warm — not boiling — water, then clear the drip line so it stops collecting.
Metal contracts. Tracks and rails tighten a little, and a door that was already running with almost no margin starts binding at one spot.
The temptation is to wind up the down-force setting and forget about it. Resist it. Force is the opener’s only way of telling you something is wrong; a small seasonal adjustment is normal, a large one hides a fault that will get worse.
What the opener’s blinking light is telling you
Most openers report faults by flashing the courtesy light or an LED on the motor unit. The pattern is a diagnostic code, not a fault in itself — the opener has already worked out what is wrong and is trying to tell you.
On Chamberlain and LiftMaster units the classic signal is the opener light flashing ten times when you press the button and the door refuses to move down. That is the safety-sensor circuit reporting itself broken: go back to checks 1 through 4.
Other counts mean other things, and they differ between models and generations. Read them against the chart in your manual or on the label inside the motor housing rather than a generic list online. What matters is the split: a repeating, countable pattern points at a circuit the opener has already diagnosed, while a light that will not come on at all points at power.
If the pattern points past the safety sensors — at the RPM sensor, the motor or the logic board — that is where the do-it-yourself part ends.
Brand quirks worth knowing
| Make | Sensor lights | What it usually means |
|---|---|---|
| LiftMaster / Chamberlain | Sender steady amber, receiver steady green | Green out or flickering = blocked or misaligned. Opener light flashing ten times confirms it. |
| Genie (Safe-T-Beam) | Sender steady red, receiver steady green | A blinking red is the beam broken or the pair out of alignment. |
| Craftsman | Same as Chamberlain | Built by Chamberlain — same behaviour, and most parts interchange. |
| Anything pre-1993 | May have no photo eyes at all | If there are none, the fault is force or travel limits, not sensors. |
Sensor behaviour is consistent within a make but not across generations. When in doubt, the label inside the motor housing beats any chart.
What this costs in Bellevue (2026)
Typical ranges for the repairs behind a door that won’t close, parts and labour included, for a standard single or double residential door on the Eastside.
| Repair | What’s involved | Typical range |
|---|---|---|
| Sensor realignment | Bracket adjustment, lens cleaning, test cycle | $85 – $150 |
| Photo-eye replacement | New sensor pair, wiring, calibration | $120 – $220 |
| Sensor wiring repair | Trace and replace pinched or broken low-voltage run | $140 – $260 |
| Limit / force recalibration | Travel and force settings, safety reverse test | $95 – $170 |
| Torsion spring replacement | One or both springs, balance and test | $250 – $480 |
| Cable replacement | Pair of lift cables, drum reset, re-tension | $180 – $320 |
| Opener logic board | Board replacement and re-pairing of remotes | $220 – $400 |
Ranges current as of 2026 for Bellevue and surrounding Eastside cities. Emergency and after-hours calls, oversized doors and commercial units price separately.
When to stop and call a technician
Checks one through six are all safe. Past that point the risk changes character, and so does the cost of getting it wrong. Call someone if:
- You can see a gap in the spring, or the door is too heavy to lift by hand
- A cable is slack, frayed or off the drum
- The door binds, grinds or has come off the track
- Both sensor lights are dead and you’d need to open the motor housing to trace the wiring
- The door reverses on contact with the floor even after you’ve reset the limits — the safety system may be failing rather than over-triggering
If you’re on the Eastside we can usually be out the same day — see garage door repair in Bellevue, or Bremerton and Kitsap County. For the specific jobs above, spring replacement and opener repair have their own pages with what’s included. And once it’s closing again, twenty minutes twice a year keeps it that way — the maintenance checklist is the routine we recommend.
Frequently asked questions
Can I bypass garage door sensors?
You can hold the wall button down to force a close on most openers — that’s the intended override for a genuine sensor failure, and it’s meant to be used with the door in full view. Permanently disabling the sensors by twisting the wires together is a different matter: it’s illegal on a residential opener, it voids the manufacturer’s warranty, and it removes the only thing standing between a closing door and a child or pet. Use the hold-to-close override to get the door shut, then fix the sensors.
Why does my garage door close then open again?
If it reverses partway down, something is breaking the photo-eye beam or the sensors are misaligned. If it reverses only after touching the floor, the close-limit setting is too low and the opener reads the floor as an obstruction. The timing tells you which: watch where the reversal happens and work from checks 1–4 or check 5 accordingly.
How much does it cost to fix a garage door that won’t close?
In Bellevue in 2026, a sensor realignment typically runs $85–$150 and a replacement photo-eye pair $120–$220. If the cause turns out to be mechanical, expect $250–$480 for torsion spring replacement or $180–$320 for cables. Most doors that won’t close land at the cheaper end, because the fault is usually electronic rather than structural.
Why is my garage door not closing all the way?
If it stops short and reverses, watch where it stops. Always at the same height points at the tracks — a bent section or a worn roller binding at one spot. A stopping point that moves around points back at the photo eyes. And if it touches the floor before bouncing up, the close-limit is set too far and the opener is reading the concrete as an obstruction.
How do I fix a garage door sensor?
Clear anything crossing the beam, wipe both lenses with a dry cloth, then loosen the wing nut on the bracket and aim one eye at the other until both lights hold steady — tighten without shifting the head. If both lights are dead rather than one, it is power or wiring, not alignment, and that means tracing a low-voltage run back to the motor unit.